NIMITZ Hood contre Bismarck
Partie de découverte de la règle Nimitz de Sam Mustafa. Le scénario choisi est la bataille du détroit de Danemark.
Introductory game for Sam Mustafa’s rule set “NIMITZ” . The scenario is the Battle of the Denmark Strait.
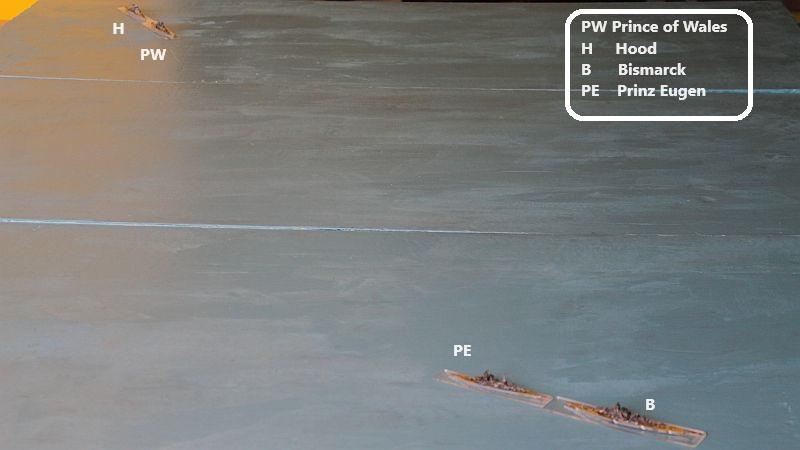
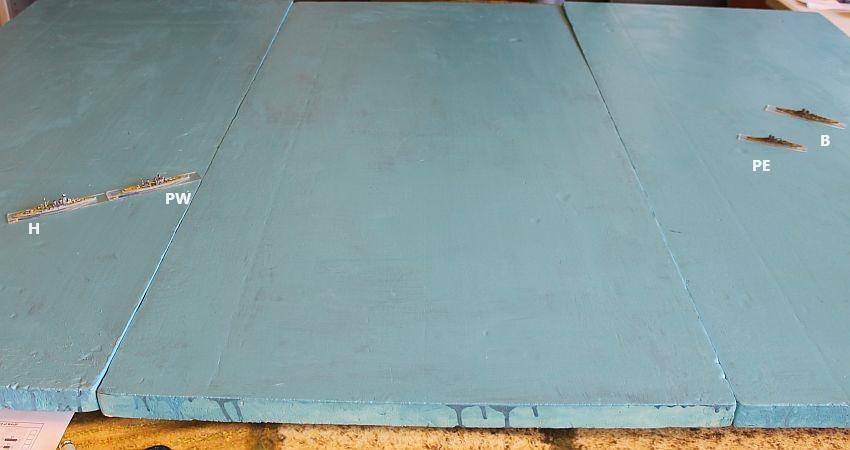
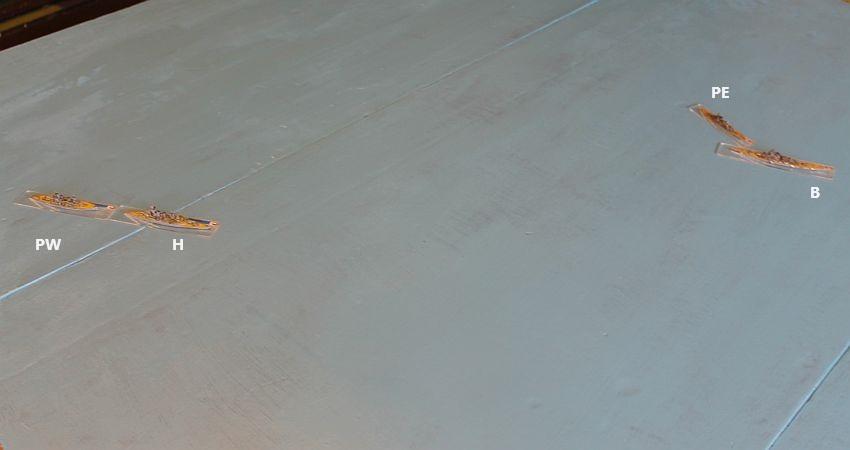
Positions initiales Les deux adversaires entrent en formation (ligne de file)
Initial positions Both players enter in a formation (line of file)
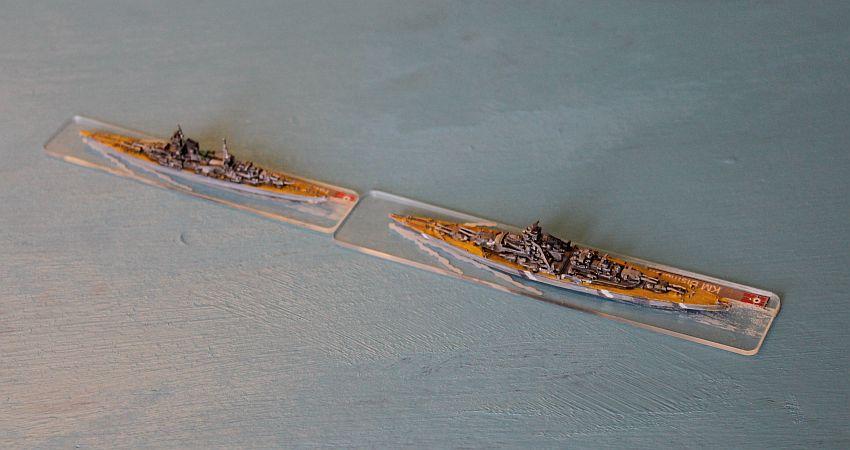
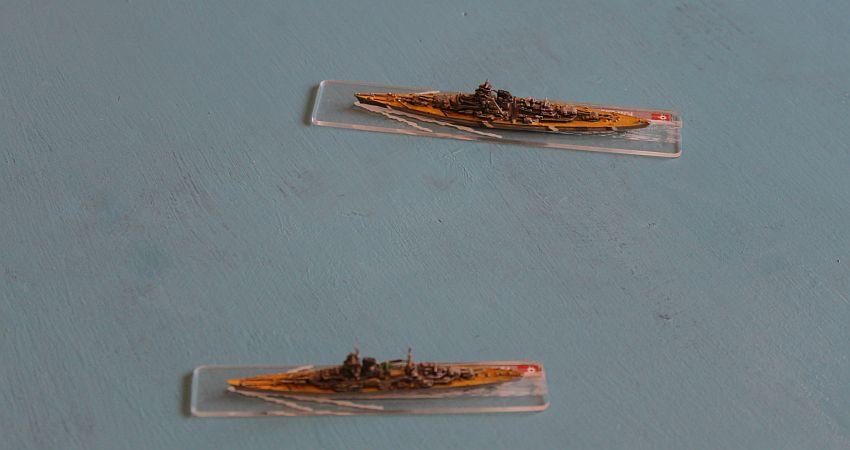
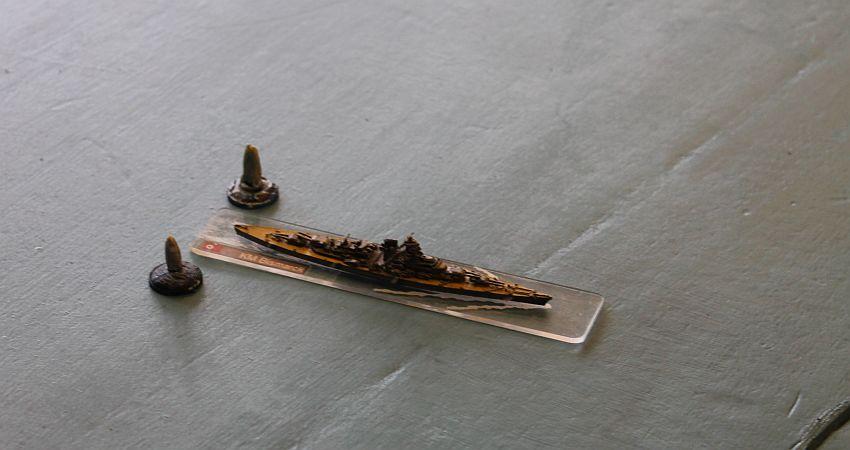
Le Prinz Eugen en tête pour la Kriegsmarine (KM) Prinz Eugen in the lead for the Kriegsmarine (KM)
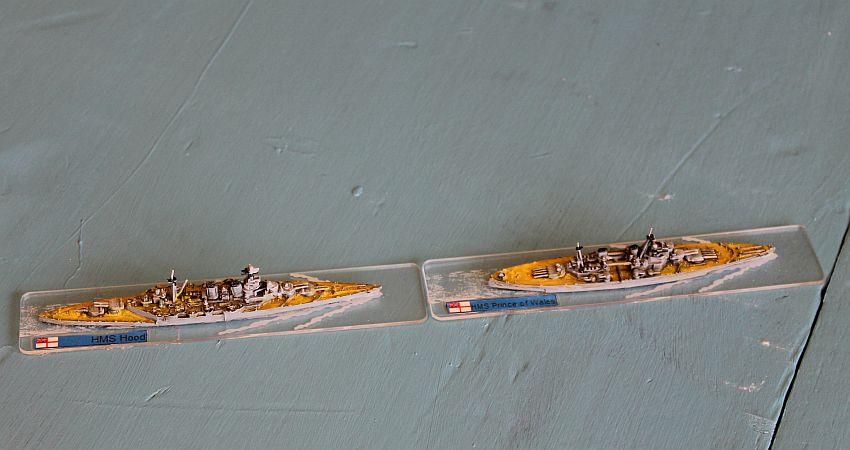
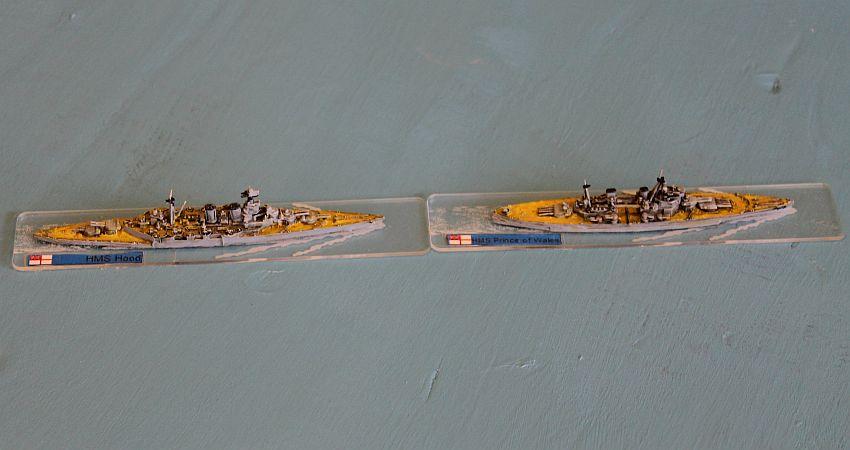 Le Prince of Wales en tête pour la Royal Navy (RN) The Prince of Wales leads the way for the Royal Navy (RN)
Tour 1 :
la RN abat sur Tribord et reste en formation, la KM abat sur bâbord de 90° et passe en ligne de relèvement.
the RN turns to Starboard and remains in formation, the KM turns to port by 90° and goes into line of bearing (breaks formation).
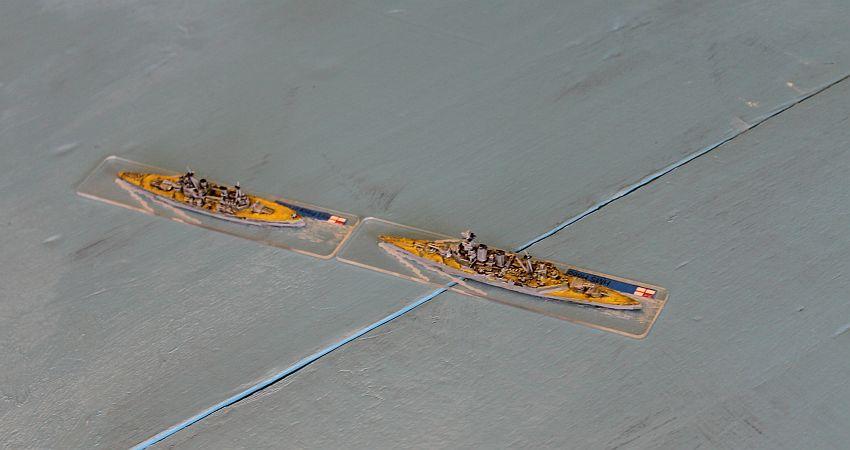
 Les Anglais The English
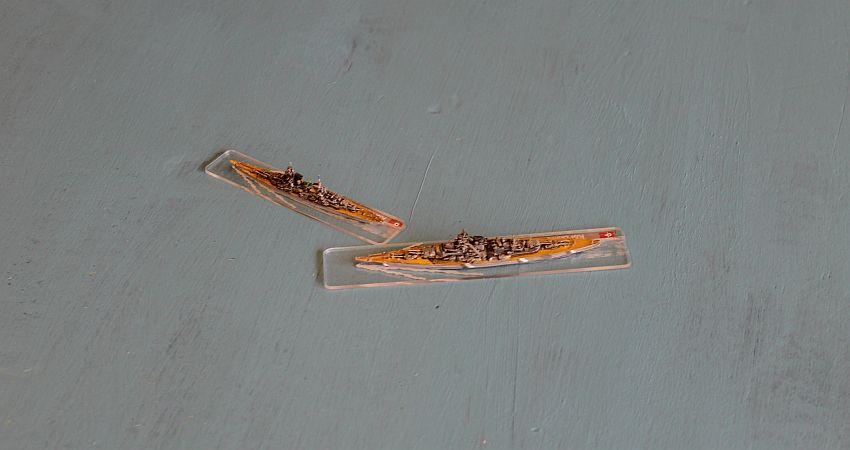
Les Allemands. Le Prinz Eugen est entre le Bismarck et l’adversaire. Mais la distance est trop grande et tout le monde est hors de portée.
The Germans. The Prinz Eugen is between the Bismarck and the adversary. But the distance is too far and everyone is out of range.
Tour 2 Turn 2
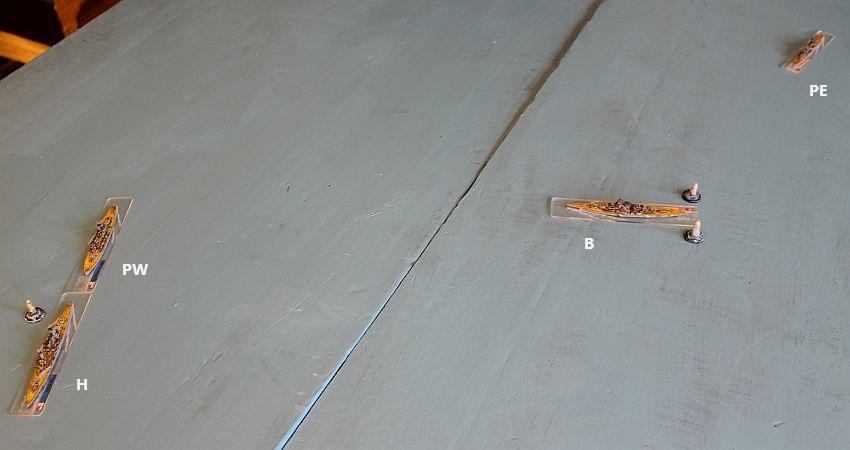
L’Anglais gagne l’avantage et laisse son adversaire jouer en 1er. La RN abat de 90° sur Tribord, la KM avance tout droit. Les deux adversaires sont à vitesse moyenne. Cette fois, le Prinz Eugen est à longue portée des deux navires anglais, le Bismarck est hors de portée de peu. Nous avons de toute façon un peu modifié la règle en décidant qu’une ligne de vue passant par la base d’un autre navire était masquée.
We modified the rule a bit anyway by deciding that a line of sight passing through the base of another ship was masked. The Prinz Eugen opens fire and misses.The Prinz Eugen is at longgunnery range for both Englishmen, the Bismarck is out of range. Both sides are at medium speed.
 Le Prinz ouvre le feu et manque ses tirs. Une salve du Prince of Wales touche sa cible, et inflige au croiseur de la KM la perte de 6 cases et d’un jumelage de torpilles. Le Hood tire aussi, mais manque.
The Prinz Eugen fires & misses. A salvo from the Prince of Wales hits its target, and inflicts on the KM cruiser the loss of 6 boxes and a torpedo mount. The Hood also shoots, but misses.
Tour 3 Turn 3
La RN perd l’avantage et la KM joue en premier. Le Prinz Eugen abat sur tribord et s’écarte de l’adversaire. Les Anglais abattent en formation sur Babord, s’éloignant de l’adversaire eux aussi, mais se rapprochant de l’objectif allemand.Le Bismarck avance tout droit vers son objectif, masquant le Prinz Eugen.
The RN loses the advantage roll and the KM plays first. The Prinz Eugen swings to starboard and moves away from the enemy. The English turn in formation to Port, also moving away from the adversary, but getting closer to the German objective. The Bismarck advanced straight towards its objective, masking the Prinz Eugen.
La phase de tir est improductive. The shooting phase is unproductive.
Tour 4 Turn 4
Les Anglais gagnent l’avantage et laissent la KM jouer en premier. Le Bismarck continue tout droit à vitesse moyenne vers son objectif. La formation anglaise vient sur tribord pour lui barrer le T, tandis que le Prinz Eugen vient sur tribord pour mettre de la distance.
The English win the advantageroll and let the KM play first. The Bismarck continues straight on at medium speed towards its objective. The English formation comes to starboard to bar theBismarck’s T, while the Prinz Eugen comes to starboard to put some distance.
Le Bismarck ne peut tirer que de ses 2 tourelles avant (4 canons), à longue distance, et manque. La RN rate tous ses tirs, manque le Bismarck.
The Bismarck can only fire from its 2 front turrets (4 guns), at long range, and misses. The RN misses all its shots, misses the Bismarck.
Tour 5 Turn 5

Le combat s’engage cette fois à courte. Le Bismarck rate avec ses tourelles secondaires, le Prince of Wales touche mais sans infliger de dégâts. La parole est à l’artillerie principale, le Bismarck ouvre le bal, et touche le Prince of Wales qui perd deux cases et une tourelle secondaire. Les Anglais ripostent, le Prince of Wales rate son tir, mais pas le Hood (qui ne peut tirer que de l’avant). Le Bismarck perd deux cases et, plus grave, une tourelle principale à l’arrière.
This time the fight takes place at short range. The Bismarck misses with its secondary turrets, the Prince of Wales hits but without inflicting damage. Time to let the main artillery speak, the Bismarck opens the ball, and hits the Prince of Wales which loses two boxes and a secondary turret. The English retaliate, the Prince of Wales misses, but not so the Hood (which can only shoot its forward turrets). The Bismarck lost two boxes and, more seriously, a rear 380mm turret.
 La RN conserve l’avantage et laisse la KM jouer en premier. Le Bismarck vient sur tribord pour démasquer ses tourelles arrière. La formation anglaise vient légèrement sur Tribord. Le croiseur Prinz Eugen vire à bâbord et se rapproche des Anglais.
The RN keeps the advantage and lets the KM play first. The Bismarck comes to starboard to unmask its rear turrets. The English formation comes slightly to Starboard. The cruiser Prinz Eugen turns to port and approaches the English.
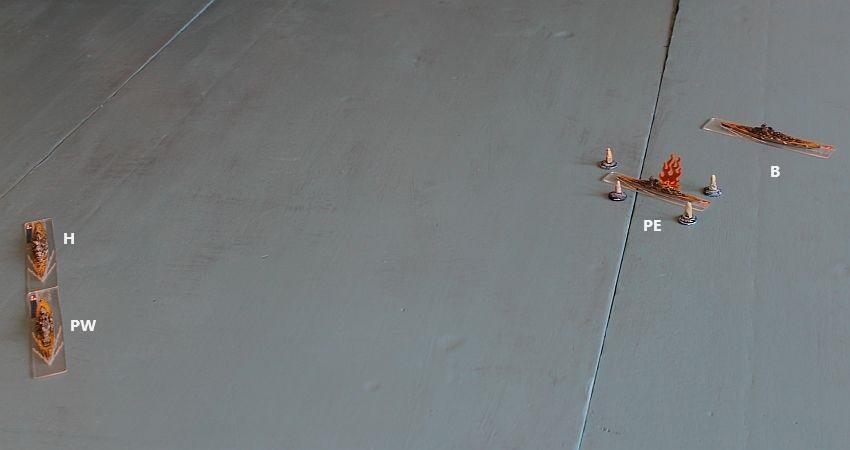
Tour 6 Turn 6
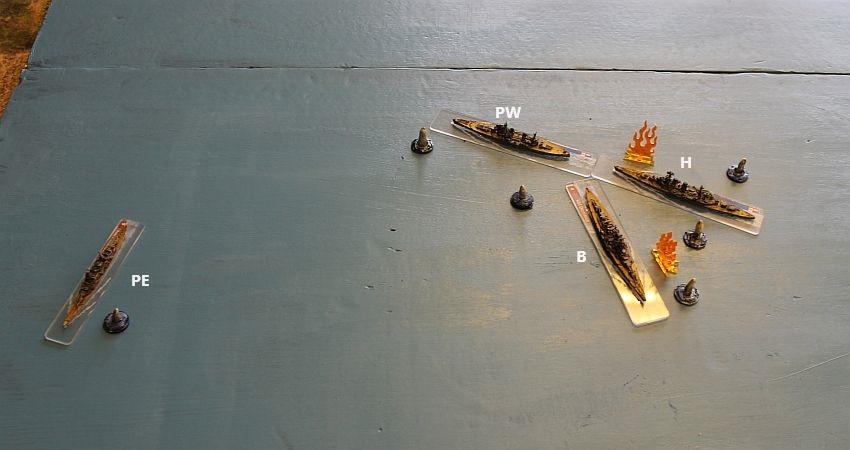 Avantage KM qui joue en premier. Le Bismarck à pleine vitesse passe devant les cuirassés anglais en route vers son objectif. A ce moment, l’Anglais a plusieurs options : abattre à droite passer sur l’arrière du Bismarck, ce qu’il fait, ou abattre à gauche pour lui couper la route. La position finale est peu avantageuse pour la RN : seule la tourelle arrière du Prince of Wales peut toucher le Bismarck.
Advantage to the KM which goes first. The Bismarck at full speed passes the English battleships on its way to its objective. At this moment, the English had several options: swing to the right and cross the wake of the Bismarck, which was the pick, or swing to the left to cross its T.
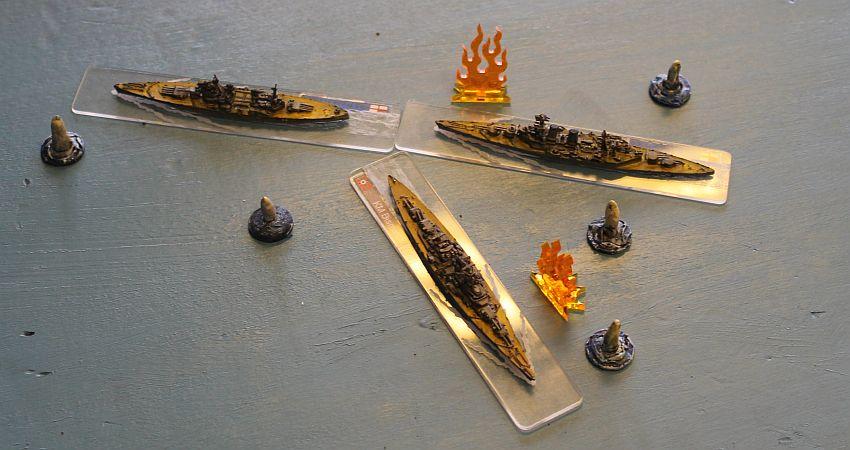
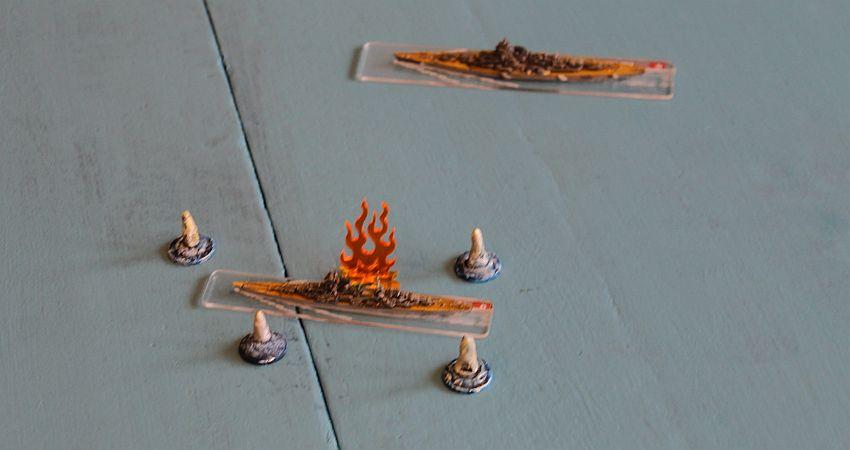
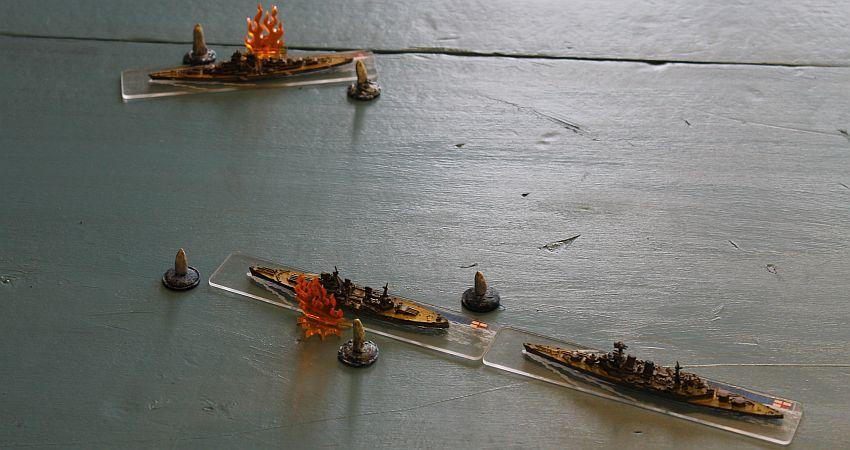
Ce dernier touche le Hood de son artillerie secondaire, réussit la pénétration et cause la perte d’une case. Pas de dégâts critique (jet de 6 & le Hood n’a pas de tourelles secondaires). Le Prince of Wales manque le Prinz Eugen avec ses secondaires. C’est maintenant la phase de l’artillerie principale. Le Hood est touché par le Bismarck , perd 4 cases et sa direction de tir. Les Anglais divisent leurs feux : le Hood touche le Bismarck et lui inflige la perte de 2 cases (7 roulé, pas de critique). Le Prince of Wales touche le Prinz Eugen, la distance est longue et le jet de pénétration de 2 laisse une dernière case au Prinz Eugen, qui subit des avaries critiques et perd en outre un deuxième jumelage de torpilles. Le Prinz Eugen rate ses tirs.
The final position is not very advantageous for the RN: only the Prince of Wales's rear turret can hit the Bismarck. The latter hits the Hood with its secondary artillery, achieves penetration and causes the loss of a box. No critical damage (roll of 6 & the Hood has no secondary turrets). The Prince of Wales misses the Prinz Eugen with its secondary artillery. This is now the main artillery phase. The Hood is hit by the Bismarck, loses 4 boxes and its fire director. The English divide their fire: the Hood hits the Bismarck and inflicts a loss of 2 squares (7 rolled, no critics). The Prince of Wales hits the Prinz Eugen, the distance is long and the penetration roll of 2 leaves one last square for the Prinz Eugen, which suffers critical damage and also loses a second torpedo mount. The Prinz Eugen misses its shots.
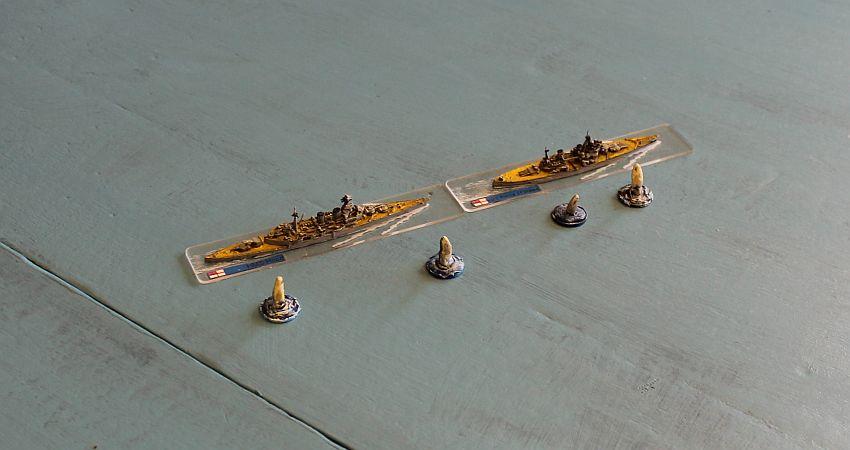
Tour 7 Turn 7
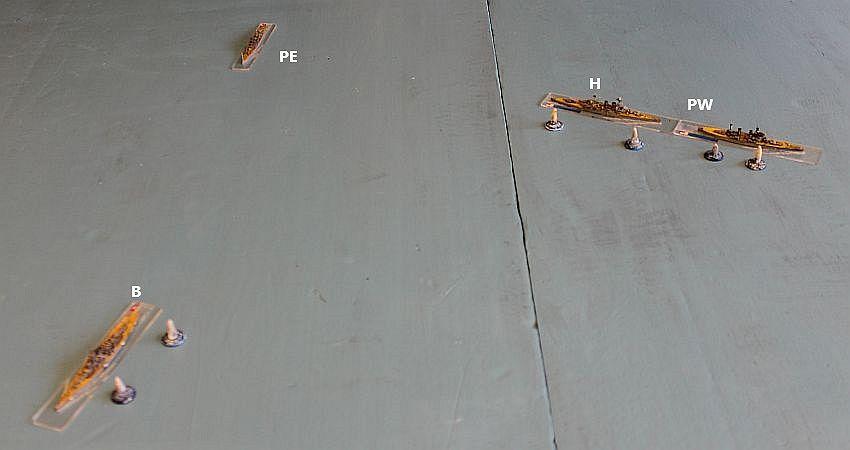
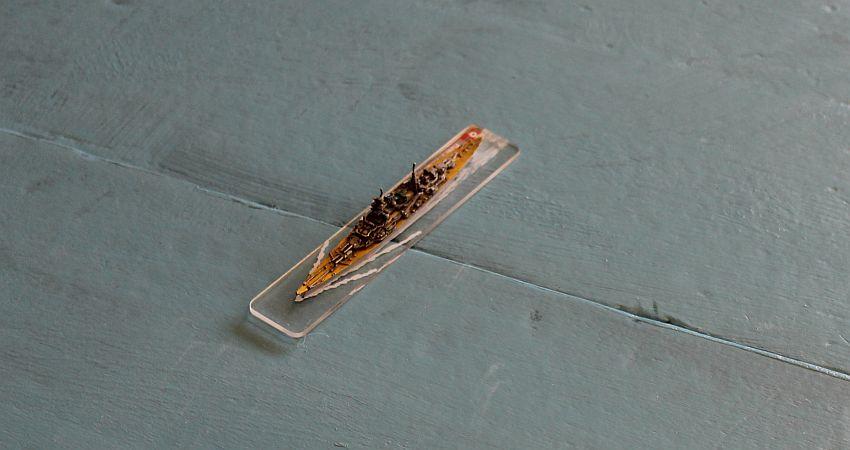
Initiative anglaise qui laisse les Allemands jouer en premier. Le Bismarck file à toute vitesse vers la sortie, les Anglais, mal placés, abattent sur tribord pour démasquer à longue portée toutes leurs tourelles. Le Prinz Eugen abat sur bâbord pour se diriger lui aussi vers la sortie.
The English win initiative, and let the Germans play first. The Bismarck sails at full speed towards the exit zone, the English, poorly placed, bear down to starboard to unmask all their turrets at long range. The Prinz Eugen turns to port to also head towards the exit zone.
Le Bismarck n’a qu’une tourelle arrière, il rate son tir (il fallait un 6). De même pour les Anglais : Longue distance (+2), directeur de tir (+1), cible à grande vitesse (+1), eux-mêmes à grande vitesse (+1) donnent un facteur de 5, qui ne laisse qu’un jet de 6 pour toucher.
The Bismarck only has one rear turret left, it misses its shot (it needed a 6). Likewise for the English: Long distance (+2), fire director (+1), high speed target (+1), themselves at high speed (+1) give a factor of 5, which leaves only 'a roll of 6 to hit.
Tour 8 Turn 8
Le Bismarck a la voie libre et ne peut plus être rejoint. Le joueur anglais concède sportivement la victoire mineure (il aurait pu facilement détruire le Prinz Eugen et inverser le résultat mais c’est un genre de geste qu’on aime voir autour de nos tables de jeu.
The Bismarck has a clear road to its objective and can no longer be stopped. The English player sportingly concedes the minor victory : he could have easily destroyed Prinz Eugen and reversed the result but it's a kind of gesture that we like to see around our gaming tables.